
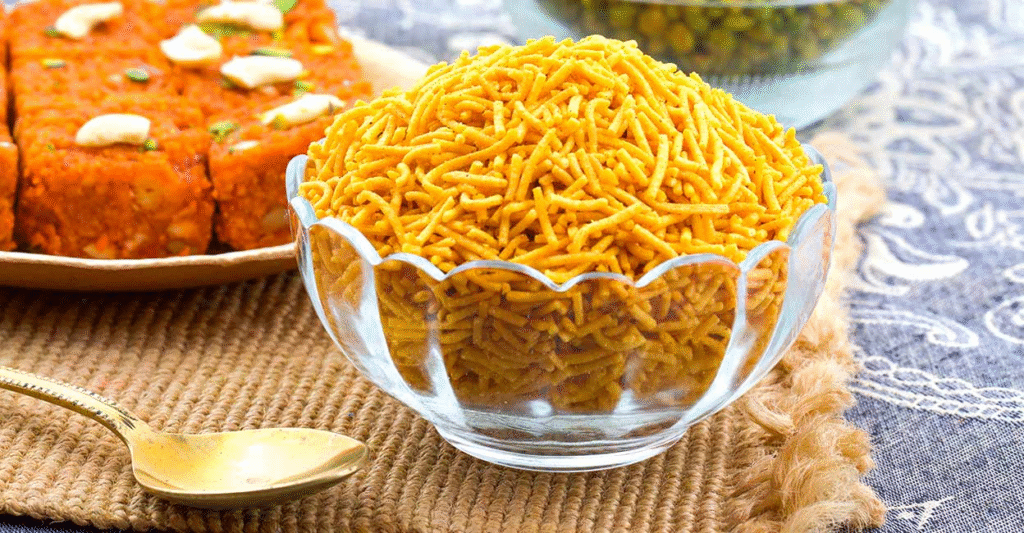
Few Indian snacks command as much universal love as Homemade Bhujiya. Whether ripped from a vibrant foil pouch, served from shiny tins during festive gatherings, or scooped fresh from the glass display cases of local halwai shops across India, this golden, savory delight is an absolute staple.
At its core, Aloo Bhujia is a spiced potato and gram flour (besan) Homemade Bhujiya consisting of ultra-thin, deep-fried vermicelli strands. It strikes the perfect balance of flavor: crispy, pleasantly seasoned, subtly minty, and delightfully tangy—a combination known in Hindi as chatpata.
Below is an expanded, step-by-step master guide to creating authentic, halwai-style Aloo Bhujia at home, along with its rich cultural backstory, ingredient chemistry, variations, and troubleshooting secrets.
The Origins and Evolution of Bhujia
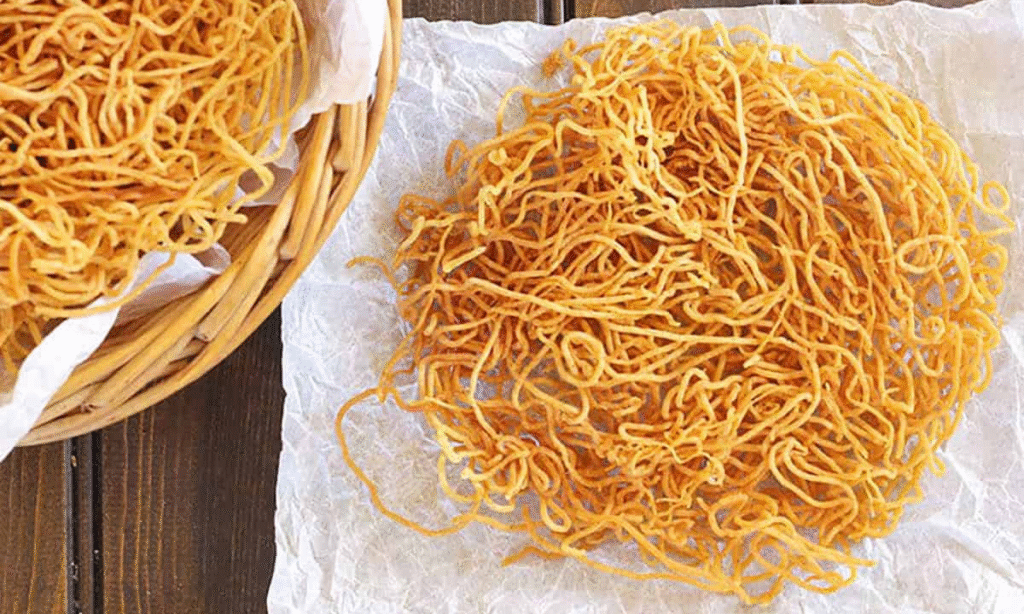
To understand Aloo Bhujia, one must first look at the legacy of Bikaneri Bhujia. Originating in the desert city of Bikaner in Rajasthan during the late 19th century, traditional bhujia was created as a crispy, long-lasting snack made from ground moth bean flour (moth lentil), gram flour, and local spices. It eventually gained a Geographical Indication (GI) tag due to its unique texture, influenced by Bikaner’s dry climate and local water profile.
Over time, home cooks and sweet makers introduced regional twists to the classic bhujia base. Aloo Bhujia emerged as one of the most popular spin-offs by incorporating boiled mashed potatoes (aloo) into the lentil flour dough. The addition of potato fundamentally changes the texture: while classic lentil bhujia is firm and sharp, potato-infused sev melts in your mouth while maintaining a satisfying crunch.
Flavor Profile: What Makes This Recipe Special?
Unlike heavy street foods or fiery hot savories, this homemade Aloo Bhujia is heavily spiced but not excessively spicy. Its distinctive flavor profile relies on three key components:
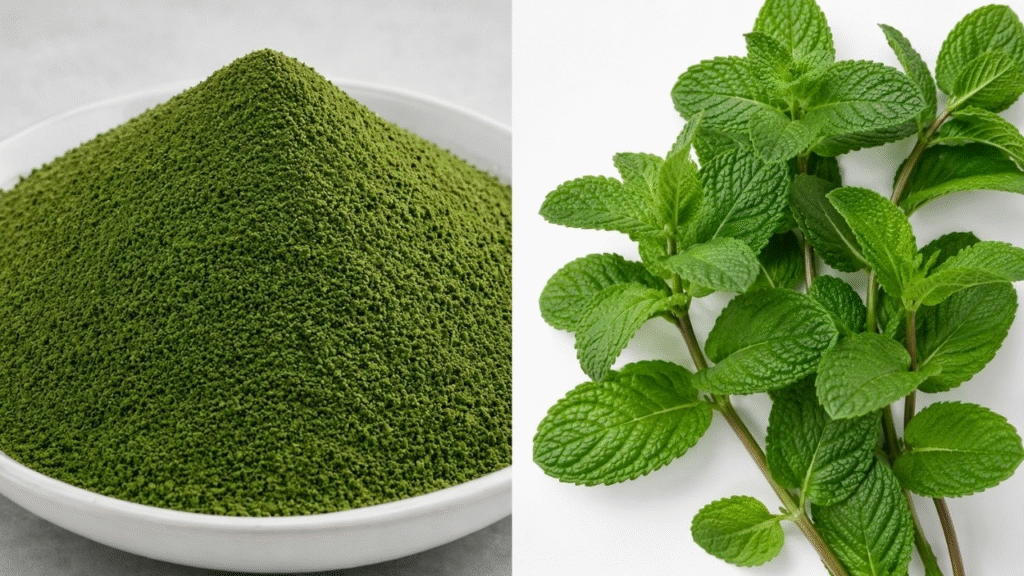
- The Herby Mint Element: Fresh mint leaves are dried and pulverized into a fine green powder, infusing the dough with a cooling, aromatic undertone that cuts through the richness of deep frying.
- The Tangy “Chatpata” Punch: Dry mango powder (amchur) combined with black salt (kala namak) and chaat masala creates a mouth-watering tartness.
- Pure, No-Onion, No-Garlic Base: This recipe is naturally sattvic (prepared without onion or garlic), making it ideal for festival offerings, religious fasts, and light tea-time munching.
Ingredients Breakdown & Measurements
This recipe makes a small to medium batch, but can easily be doubled or tripled for festive occasions or meal prepping.
Step-by-Step Culinary Instructions
1.Cook and Prep the Potatoes:Critical step for preventing clogged press holes.
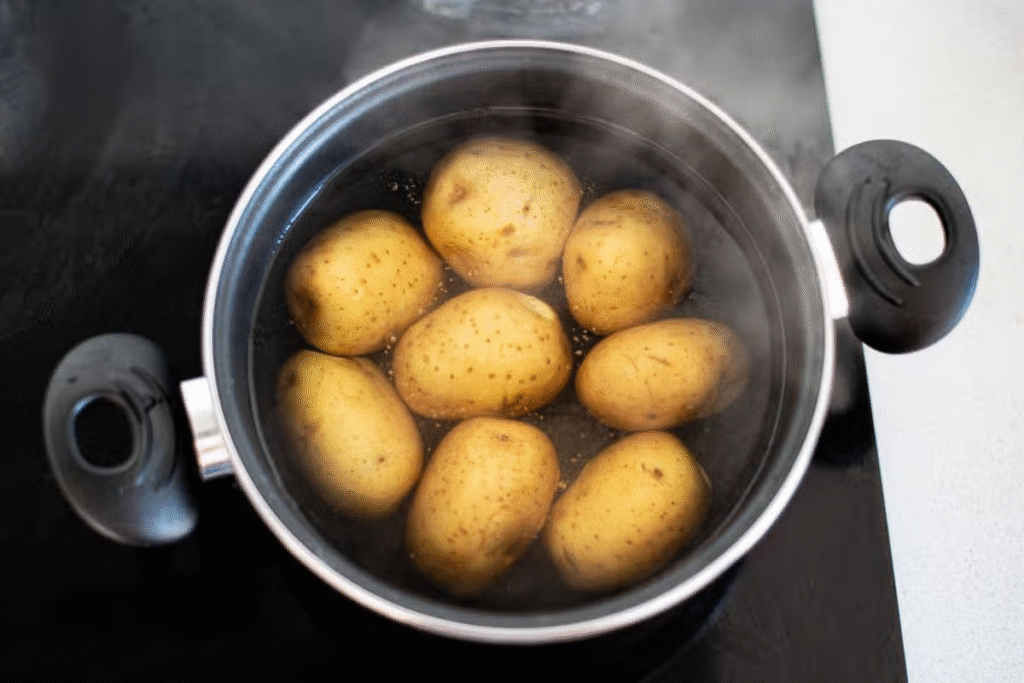
- Rinse 2 medium potatoes thoroughly. Place them in a 2-liter stovetop pressure cooker, add water until partially covered, and pressure cook on medium heat for 3 to 4 whistles. (Alternatively, steam or boil in an Instant Pot until completely fork-tender).
- Allow the pressure to release naturally. Remove the potatoes using tongs and set them aside to cool completely.
- Once warm, peel the skins off. Using a fine vegetable masher or grater, mash the potatoes meticulously. There must be zero solid lumps or chunks, as any hard piece will block the fine holes of your sev press. Let the mashed potatoes cool to room temperature.
2.Prepare the Mint Powder:
- Rinse 16 to 18 fresh mint leaves and pat them dry.
- Heat a pan on low heat and add the leaves. Stir continuously for 2–3 minutes until they wilt, dry out, and become crisp.
- Transfer the dry leaves to a mortar and pestle and grind them into a fine powder. Set aside. (Shortcut: Use ½ tsp pre-dried store-bought mint powder).
3.Knead the Aloo Bhujia Dough:
- In a wide mixing bowl containing the cooled mashed potatoes, add the turmeric, garam masala, red chili powder, dry mango powder, black salt, and chaat masala. Mix thoroughly.
- Fold in the crushed mint powder.
- Sift 1 cup of besan (gram flour) directly over the spiced potato mixture to eliminate any flour clumps.
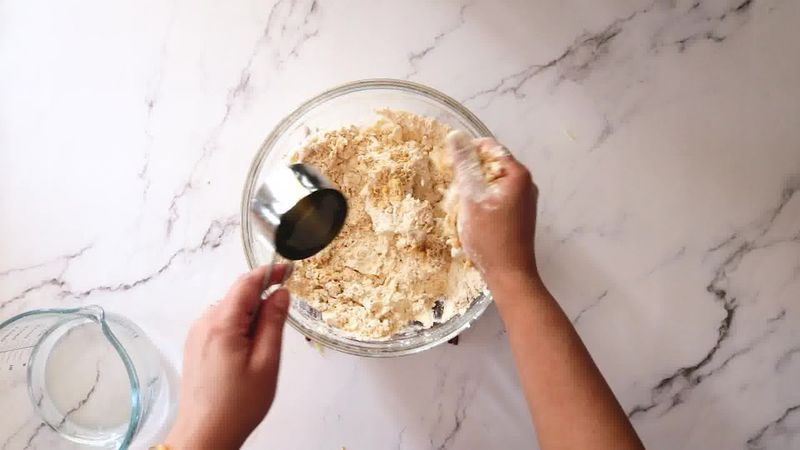
- Gently mix with your hands and start bringing the dough together. Do not add water at this stage. The natural moisture from the boiled potatoes is sufficient to bind the dough into a smooth, slightly tacky mass.
- If the dough is too sticky: Add 1–2 tablespoons of extra besan.
- If the dough feels too dry/crumbly: Sprinkle 1 teaspoon of water at a time.
4.Setup the Sev Press Machine:
- Select the brass or stainless-steel disc attachment with the smallest fine holes.
- Grease the interior walls of the cylindrical sev press and the disc with a few drops of oil to prevent sticking.
- Rub a bit of oil on your palms, roll a portion of the dough into an elongated cylinder, and insert it into the press. Reserve a tiny marble-sized piece of dough for testing oil temperature. Fasten the lid securely.

5.Deep Fry to Golden Perfection:
- Heat oil in a deep kadai or heavy-bottomed pan over medium heat.
- Temperature Test: Drop the tiny piece of reserved dough into the oil. If it sinks to the bottom, the oil is too cold. If it rises instantly and burns, the oil is too hot. If it rises gradually to the surface while bubbling steadily, the oil is ready.
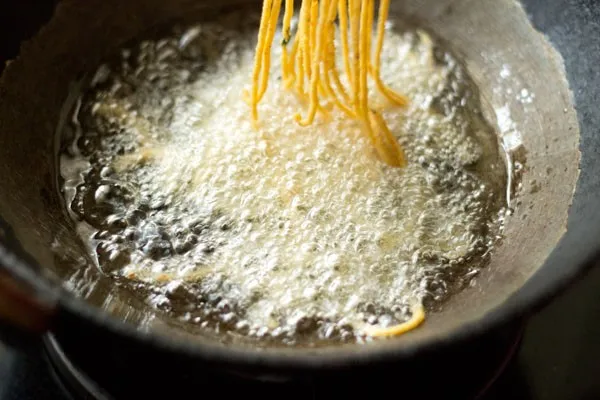
- Hold the sev press directly over the hot oil. Rotate the handle or press the lever in a steady circular motion, letting thin strands fall directly into the oil in concentric circles.
- Fry undisturbed for 30–45 seconds until the dough sets and firms up.
- Gently flip the sev coil using a slotted spider spoon to cook the other side.
- Fry until the bubbling/sizzling in the oil reduces significantly and the sev turns a crisp, light golden hue.
6.Drain, Season, and Store:
- Lift the fried sev coil out of the oil, draining excess oil back into the pan.
- Transfer to a plate lined with paper towels to absorb residual oil.
- While still warm, sprinkle ½ to 1 teaspoon of extra chaat masala over the top for an added burst of flavor.
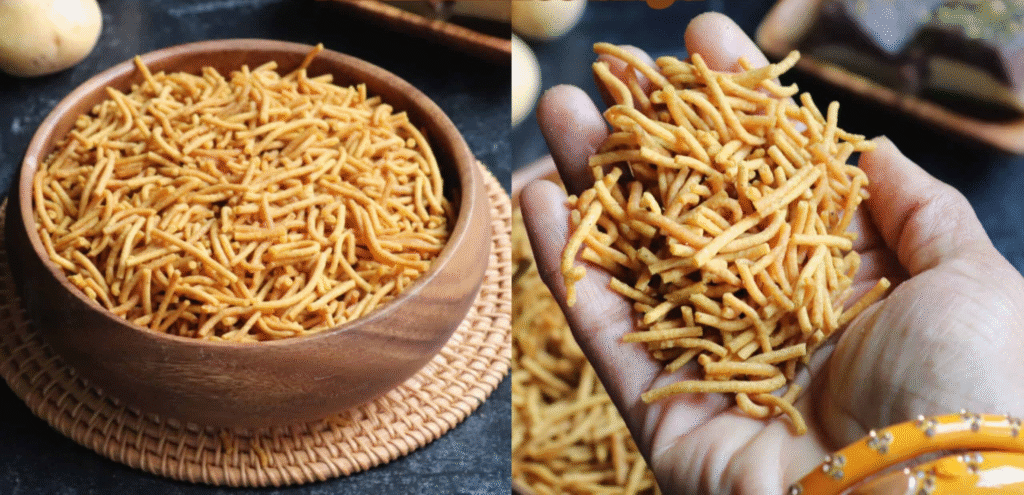
- Allow it to cool completely to room temperature. Once cool, gently crush the coils into bite-sized strands using your hands.
- Store in a clean, airtight container. It stays fresh and crisp for 3 to 4 weeks.
Pro-Tips for Halwai-Style Precision
- Potato Selection: High-starch, low-moisture potatoes (like Yukon Gold or traditional Indian Russet/Pahadi varieties) work best. Avoid waxier varieties, as they create sticky doughs that require too much extra flour, diluting the potato flavor.
- Sifting is Non-Negotiable: Besan naturally forms dense little clumps. Sifting ensures a silky dough that passes effortlessly through fine-hole discs without tearing or clogging.
- Oil Temperature Control: Frying in oil that is too cold will cause the high-moisture dough to absorb excessive oil and become greasy/soggy. Frying in scorching hot oil will burn the delicate mint and spices before the center cooks through. Keep the flame on medium throughout.
Creative Customizations & Variations
While this baseline recipe is traditional, you can easily adapt the flavor profile to match your personal preferences:
- Garlic Aloo Bhujia: Add 1 teaspoon of very finely strained garlic juice or ¼ teaspoon of garlic powder to the potato mixture before adding the flour.
- Extra Spicy (Teekha) Version: Double the red chili powder amount to 1 teaspoon and add ¼ teaspoon of crushed black pepper (kali mirch) or cayenne.
- Anardana Twist: Replace the dry mango powder with finely powdered dried pomegranate seeds (anardana) for a deeper, tangy flavor.
How to Serve Aloo Bhujia
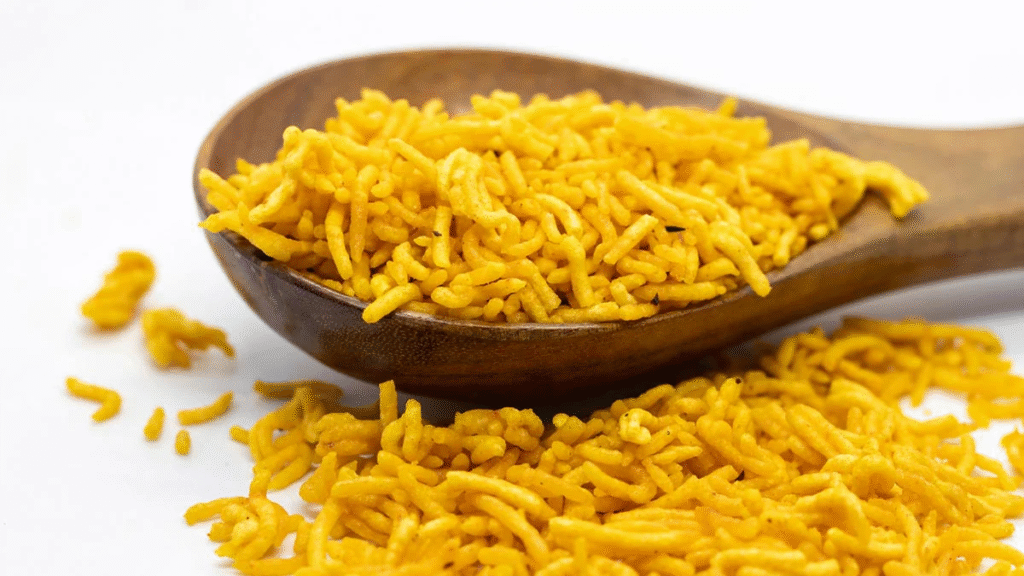
While Aloo Bhujia is fantastic as a standalone tea-time snack alongside a steaming cup of Masala Chai, its versatility shines when used as a crunchy topping for popular Indian dishes:
- Breakfast Topping: Sprinkle over hot Upma, Kanda Poha, or Sabudana Khichdi for an instant contrast in texture.
- Chaat Enhancer: Layer over Bhel Puri, Dahi Puri, or Aloo Tikki instead of plain nylon sev.
- Rice Accompaniment: Toss a handful over Curd Rice, Lemon Rice, or Pulao right before serving.